A flawless paint job starts long before you open a can of paint. Proper wall preparation is key to achieving a smooth, professional finish that will last for years. Whether you’re repainting a room or tackling a brand-new surface, taking the time to prep your walls ensures that the paint adheres evenly and looks its best.
From cleaning and patching to priming and sanding, each step plays a crucial role in creating the perfect canvas for your new colour. With that in mind, we’ll walk you through the essential steps to prep your walls for a perfect paint job, so you can transform your space with confidence.
Essential Wall Prep Tips for a Smooth and Stunning Paint Job
1. Gather Your Supplies
Before you start prepping your walls, gather all the supplies you’ll need. Having everything ready will save you time and make the process smoother. Here’s a list of items you should have:
- Cleaning Supplies: Get a mild detergent, sponges, and a bucket for cleaning the walls. A vacuum cleaner with a brush attachment can help remove dust and cobwebs.
- Repair Materials: Purchase spackling paste, putty knives, and sandpaper to fix any holes or cracks. For larger holes, you might need a patch kit.
- Sanding Tools: You’ll need sandpaper or a sanding block. A sanding pole can make it easier to reach high spots.
- Primer: A good-quality primer prepares your walls for paint. Choose a primer that’s suitable for the type of wall you have, whether it’s drywall, wood, or plaster.
- Protective Gear: Use drop cloths to protect your floors and furniture. Painter’s tape is essential for masking trim, baseboards, and other areas you don’t want to paint.
Make sure to gather all these supplies before you begin. This preparation will help you stay organised and work more efficiently. It’s much easier to concentrate on the task at hand when you don’t have to search for tools and materials constantly.
2. Clean and Repair Your Walls
Now that you have all your supplies, it’s time to clean and repair your walls. Start by removing any dust, dirt, and cobwebs. Use a vacuum cleaner with a brush attachment to clean the surface. Then, wash the walls with a sponge and mild detergent mixed with water. This removes any grease or grime that can prevent the paint from sticking properly. Let the walls dry completely before moving on to repairs.
Inspect the walls for any holes, cracks, or dents. Use spackling paste to fill in small holes and cracks. Apply the paste with a putty knife, then smooth it out so it’s even with the wall surface. For larger holes, follow the instructions on a patch kit to repair them. Allow the spackling paste or patch to dry fully before sanding it smooth.
Sanding the repaired areas ensures they blend seamlessly with the rest of the wall. Use fine-grit sandpaper to sand the repairs until they’re smooth to the touch. Wipe away any dust from sanding with a damp cloth. By cleaning and repairing your walls thoroughly, you create a perfect surface for priming and painting, setting the stage for a flawless finish.
3. Sand and Prime the Surfaces
Sanding your walls ensures a smooth surface for the paint to adhere to. After you’ve repaired any holes or cracks, use fine-grit sandpaper on the walls. Sanding removes rough spots and leftover debris from repairs. Concentrate on the areas where you applied spackling paste and any other uneven surfaces. Once you’ve finished sanding, wipe the walls with a damp cloth to remove dust.
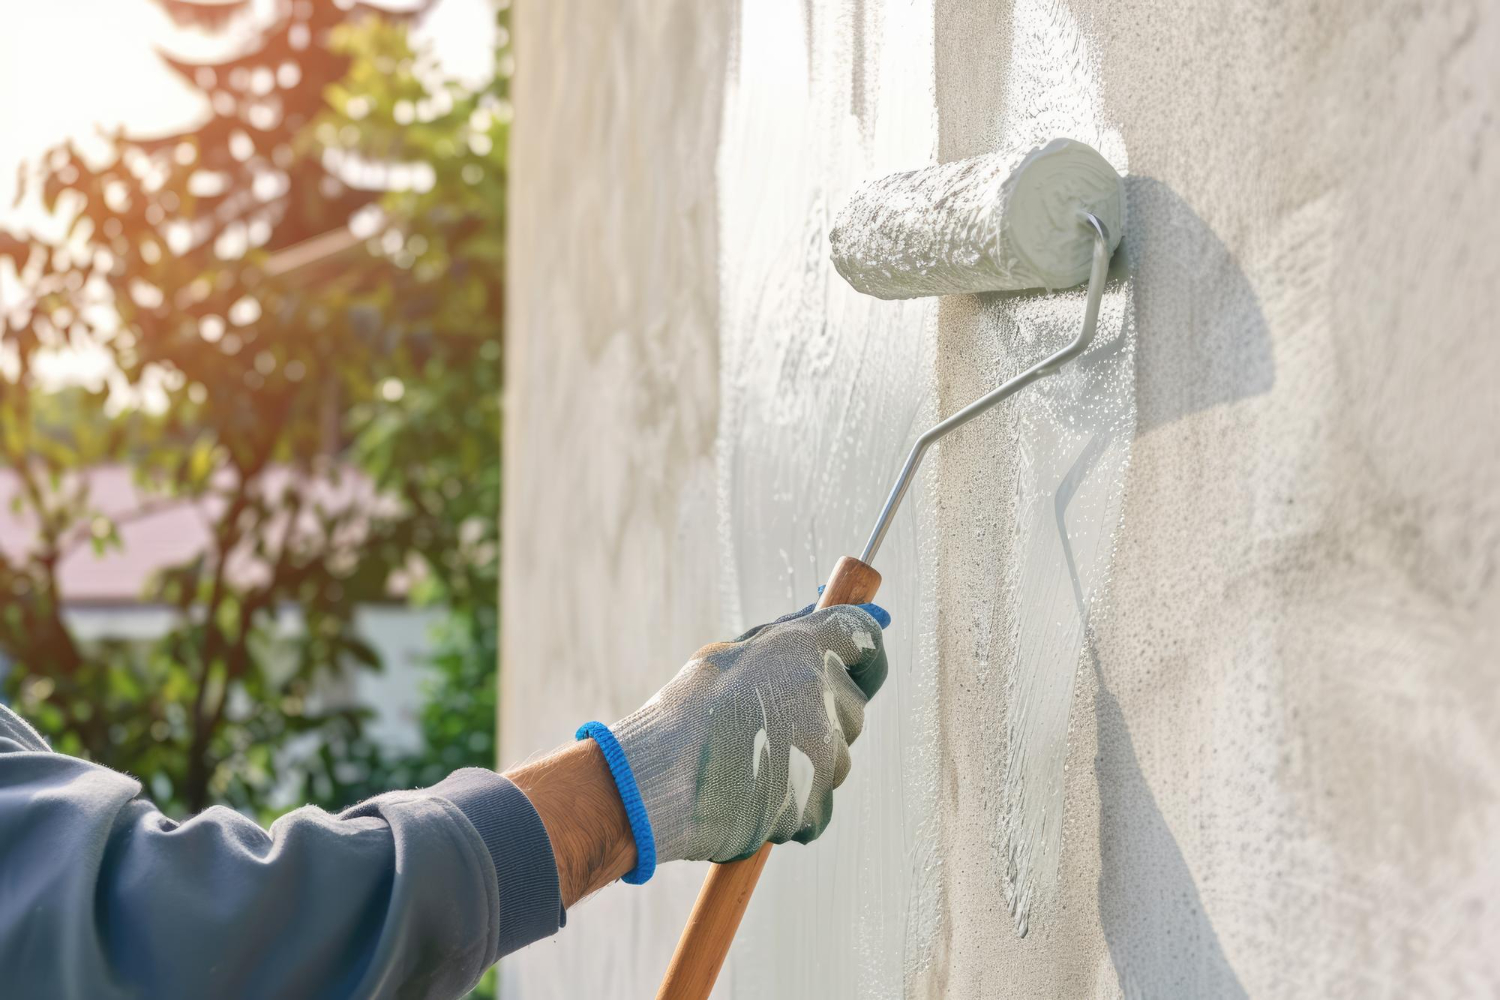
Next, apply a primer to the walls. Primer seals the wall surface and provides a good foundation for the paint. It helps the paint adhere better and ensures an even colour. Choose a primer that suits your wall type, whether it’s drywall, plaster, or wood. Use a roller for large areas and a brush for edges and corners. Apply the primer evenly and let it dry according to the manufacturer’s instructions. Proper priming ensures a better finish and helps your paint job last longer.
If you’re painting over dark colours or porous surfaces, you may need a second coat of primer. Make sure each coat is fully dry before applying the next one. Taking the time to sand and prime your walls will pay off with a smoother, more professional-looking paint job.
4. Protect Your Space and Final Touches
Protecting your space is essential to avoid messes and paint splatters. Start by laying down drop cloths to cover floors and furniture. Use painter’s tape to mask off trim, baseboards, and any other areas you don’t want to paint. Secure the tape firmly and make sure it creates a tight seal to prevent paint from seeping through.
Make sure all your tools and supplies are within easy reach so you can work efficiently. If you’re dealing with a large space, consider breaking it down into smaller sections to make the task more manageable. As you paint, remove any excess paint from your brush or roller to avoid drips and runs.
After you’ve finished painting, remove the painter’s tape while the paint is still slightly wet. This prevents the paint from peeling off with the tape. Inspect your work for any missed spots or uneven areas and touch them up as necessary. Properly cleaning your brushes and rollers ensures they’re ready for the next project.
Prep Your Walls for a Perfect Paint Job
Prepping your walls for painting is a crucial step that guarantees a beautiful and long-lasting finish. By gathering your supplies, cleaning and repairing walls, sanding and priming surfaces, and protecting your space, you set yourself up for a professional-looking paint job. These steps may seem time-consuming, but they make a significant difference in the final result.
Taking the time to prepare your walls properly makes painting easier and ensures the paint adheres better and looks smoother. With these simple yet effective steps, you can achieve a flawless finish and make your space look fresh and new.
For more tips or professional help with your next painting project, reach out to Xico Enterprises Inc. Our team of the best house painters in Victoria, BC, is ready to assist you with all your interior and exterior painting needs. Contact us today to learn how we can help transform your space!